
Famous for offering visitors unforgettable encounters with unique wildlife such as Giant Tortoises, Flightless Cormorants, and Marine Iguanas, the Galapagos deserves a place near the top of any wildlife photographer’s bucket list. Not only is the variety of animals here unique, but the ease at which they can be viewed and photographed is utterly astounding. The lack of land predators on most of the islands has resulted in a phenomenon called island tameness with many animals being seemingly fearless of humans. This allows visitors to approach within touching distance (tourists must try and maintain a distance of 2m from all animals as specified by the Galapagos National Park rules) and photographers will often find themselves having to take a few steps back in order to focus on their subject. To get the most out of a photography trip to the Enchanted Islands, here are our tips for photographing wildlife in the Galapagos:
1. Pack the Right Gear
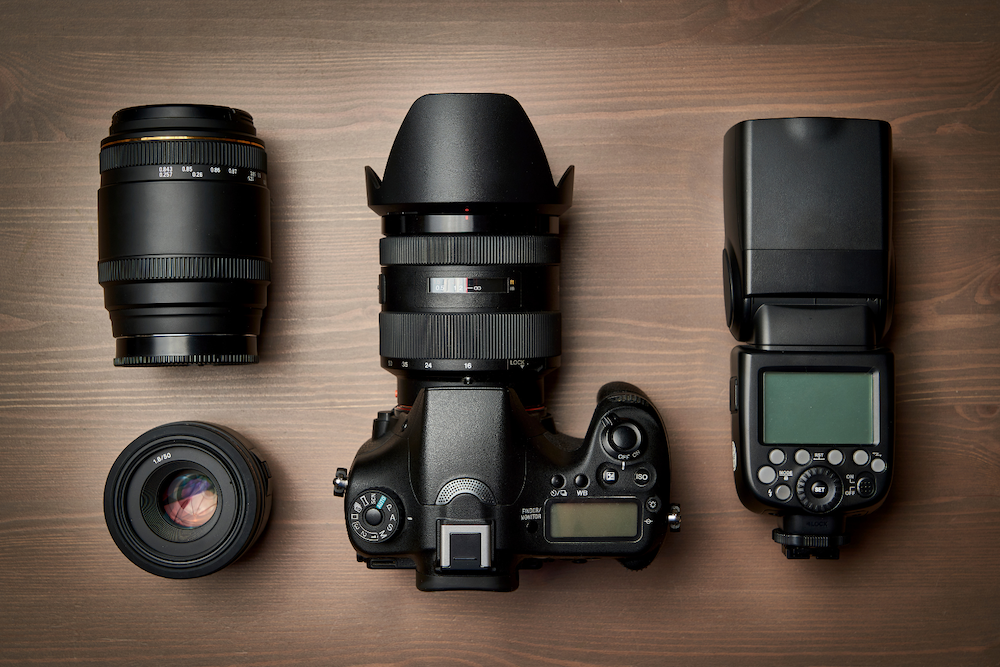
What makes the Galapagos a unique destination for wildlife photographers is how close you can get to wildlife. For this reason a long telephoto such as a 600mm, while useful, is not at all required. The optimum lens for photography in the archipelago is a zoom lens such as a 100-400mm as this allows you the freedom to experiment with composition and is light enough to carry on walks without becoming cumbersome.
2. Plan Your Shoot
The Galapagos is famous for its incredible amount of endemic species, many of which are found only on certain islands in the archipelago. Research the sites you are going to visit and speak to your guide to find out which species are the specials you should be looking out for at each location. Plan to spend more time photographing these animals as you aren’t likely to encounter them as much (or at all) during other parts of your itinerary. This will allow you to photograph as wide a variety of species as possible.
3. Pay Attention to Animal Behaviour
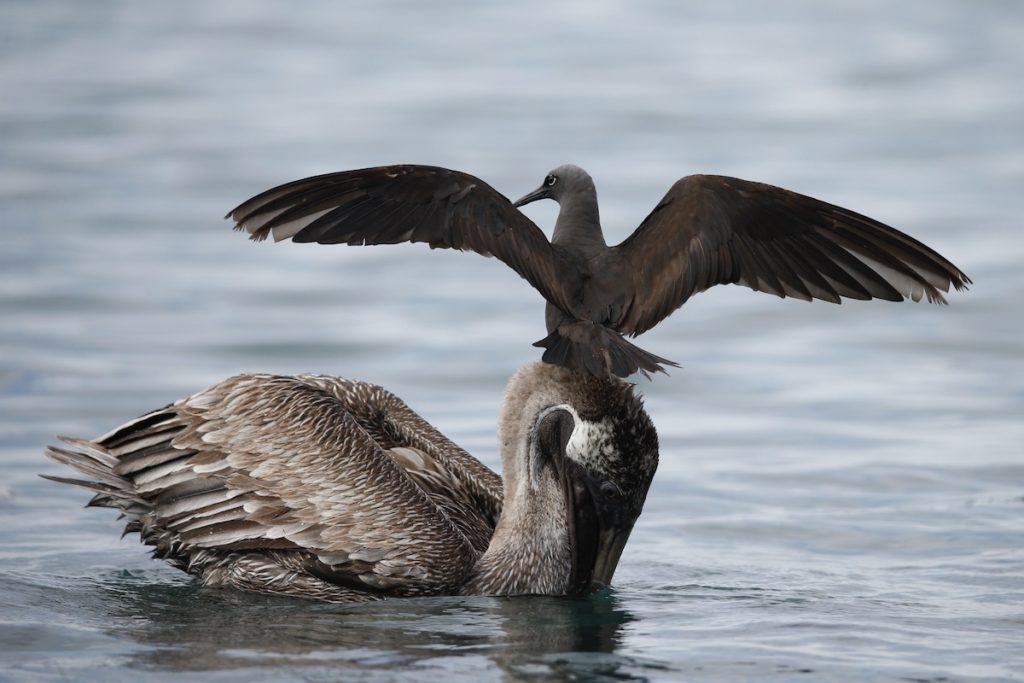
Paying attention to animal behaviour is important no matter where you are photographing wildlife. It allows you to time your shots and ultimately take more dynamic images. Know which species you will encounter on your trip and study the behaviour they are famous for – the mating dances of Blue-footed Boobies and Waved Albatrosses or the territorial head-bopping of Lava Lizards for example. Observing how animals interact in the field will also give you a sense of how to approach them – some species such as American Flamingos are shier than others like Marine Iguanas.
4. Position Yourself Well Within Your Group
Almost all excursions to visitor sites in the Galapagos are done in groups. While group sizes are limited by the Galapagos National Park, you are likely to find yourself surrounded by people who are all looking at the same animal you are. Positioning yourself at the front of group hikes or as close to your guide as possible will ensure you have the best views of sightings early on. This being said, there is usually ample time for everyone in the group to get a great angle so be considerate towards your fellow travellers. Positioning becomes more important on panga rides where there is little space for proper manoeuvring. If possible, ask your group wether you can take one of the seats at the front of the panga so that you will be able to point your camera lens both port and starboard.
5. Protect Your Gear
If you are visiting the Galapagos, chances are you will have to carry your gear on a panga (dinghy) in order to get to and from visitor sites or explore otherwise inaccessible areas. As with any wildlife viewing, the sighting of the trip can happen without warning at any given moment, so it is understandable that you would want your camera close at hand and not stored away in a backpack. This however means that you are going to have to deal with sea spray and the possibility of losing gear overboard if you are not careful. Always wear your camera strap around your neck, keep loose gear in a drybag and use a towel to cover your camera while you are not using it. Make sure to pass your gear to someone with stable footing when you embark and disembark and be mindful of beach sand and dust when you do lens changes at the site. If you are traveling to highland regions, be prepared to encounter rain (and lots of it) and make sure that your camera is adequately protected. It pays to carefully clean and examine your gear after each excursion to avoid any damage.
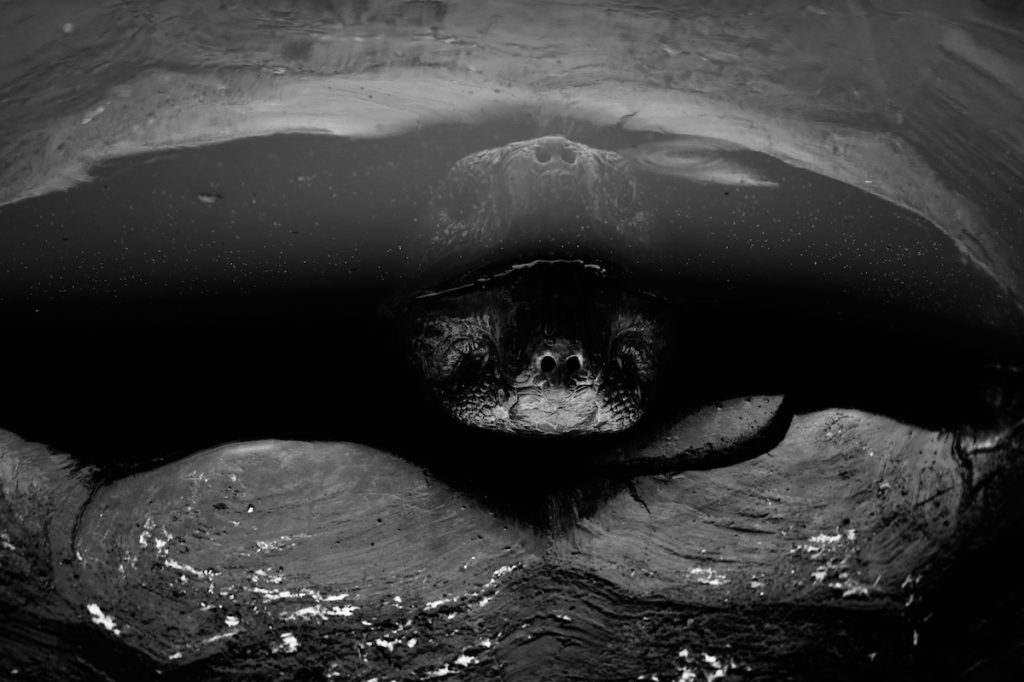
6. Experiment!
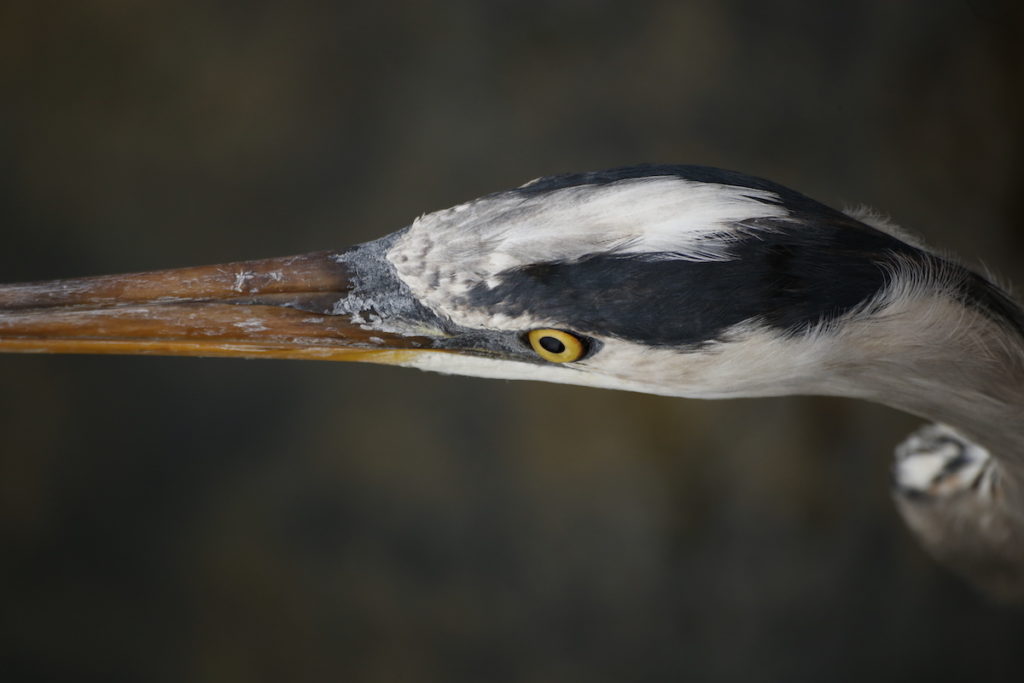
You will almost certainly encounter more subjects than you could ever hope to photograph. After ticking off the classic portrait and full body shots for a species, why not experiment a bit with composition and lighting. Closeups that pay attention to detail are particularly enjoyable to capture as you can often get within a few steps of your subject. The astounding abundance of subjects means the Galapagos is the perfect place to hone your skills – take as many photos as possible and see which ones work and which ones don’t.
7. Listen to Your Guide
The last tip on this list is by far the most important. With so much to see and photograph it is easy to get caught up in the moment and become tempted to take a few steps off the trail or approach a little too close to an animal in order to get a slightly better shot. Leaving the trail and approaching too close to an animal are both against the rules of the Galapagos National Park and should not be practised under any circumstances. Regulations put forth by the National Park are strictly enforced and a guide (and even a tour company) can lose their licence if their group is found to break any rules. Always ask your guide wether or not you are allowed to approach an animal and pay attention to how you should do it.